Quick Start
Installation
Step One
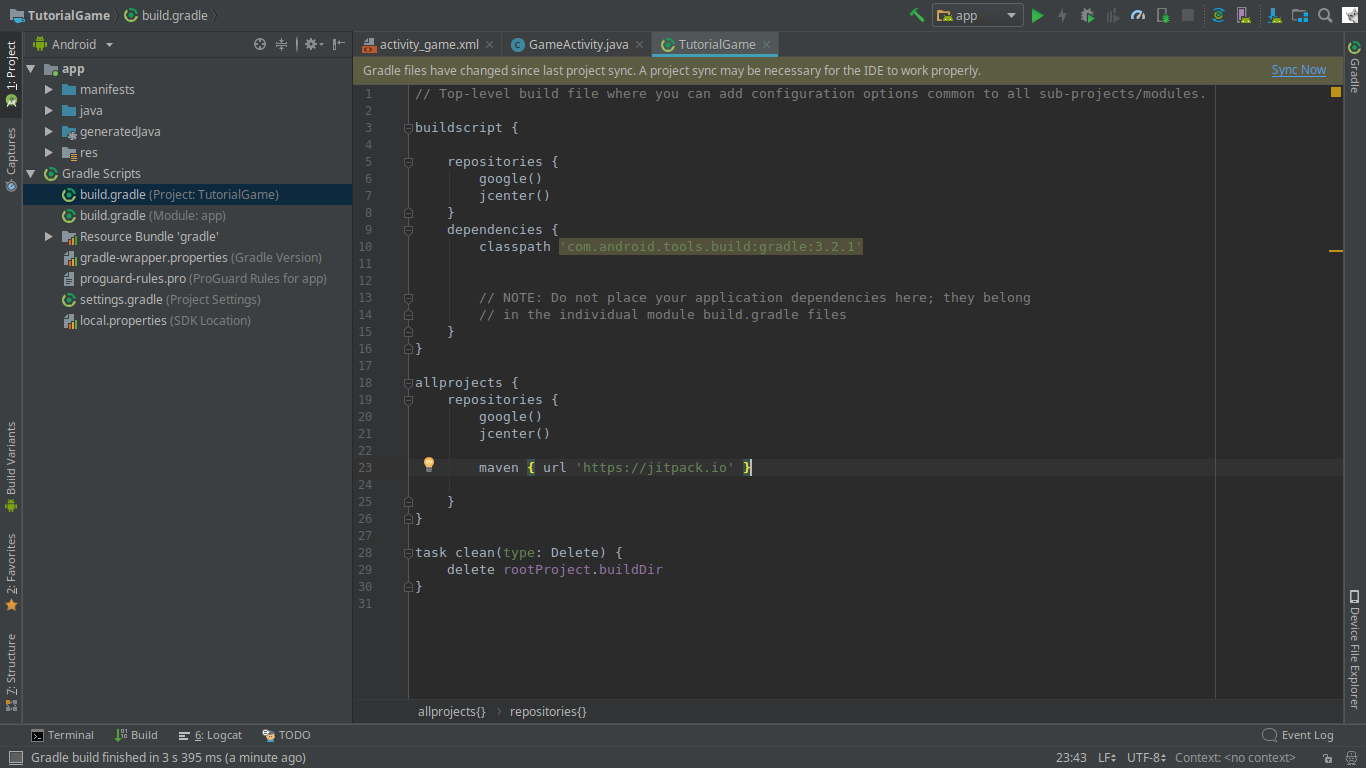
Add the JitPack Repository to your build path
In your builde.gradle (Project: project_name)
allprojects {
    repositories {
        ...
        maven { url 'https://jitpack.io' }
    }
}
Step Two
Add The Dependency
This time in your builde.gradle (Module:app)
dependencies {
    ...
    implementation 'com.github.e-mobadara:moblib:v1.2.3'
}
It is good to have the Repository as watched to get notified about new Releases
That's It! Now You are Good to Go
Philosophy
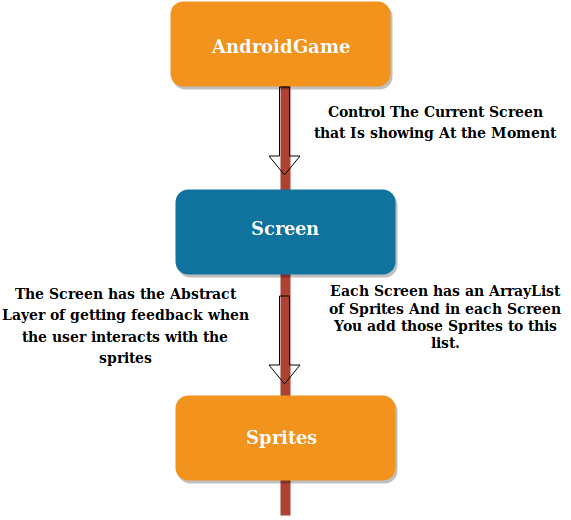
The most important class in this library is AndroidGame.
It extends Activity and implements Game.
AndroidGame is the One responsible for what screen is showing at the moment.
Each Screen is responsible for the sprites that are showing.
Screen have an ArrayList of sprites, and in order for a sprite to be shown it has to be added to this List.
The current Image says it all
Your First Game
We will create our first Game to get you started on using MobLib
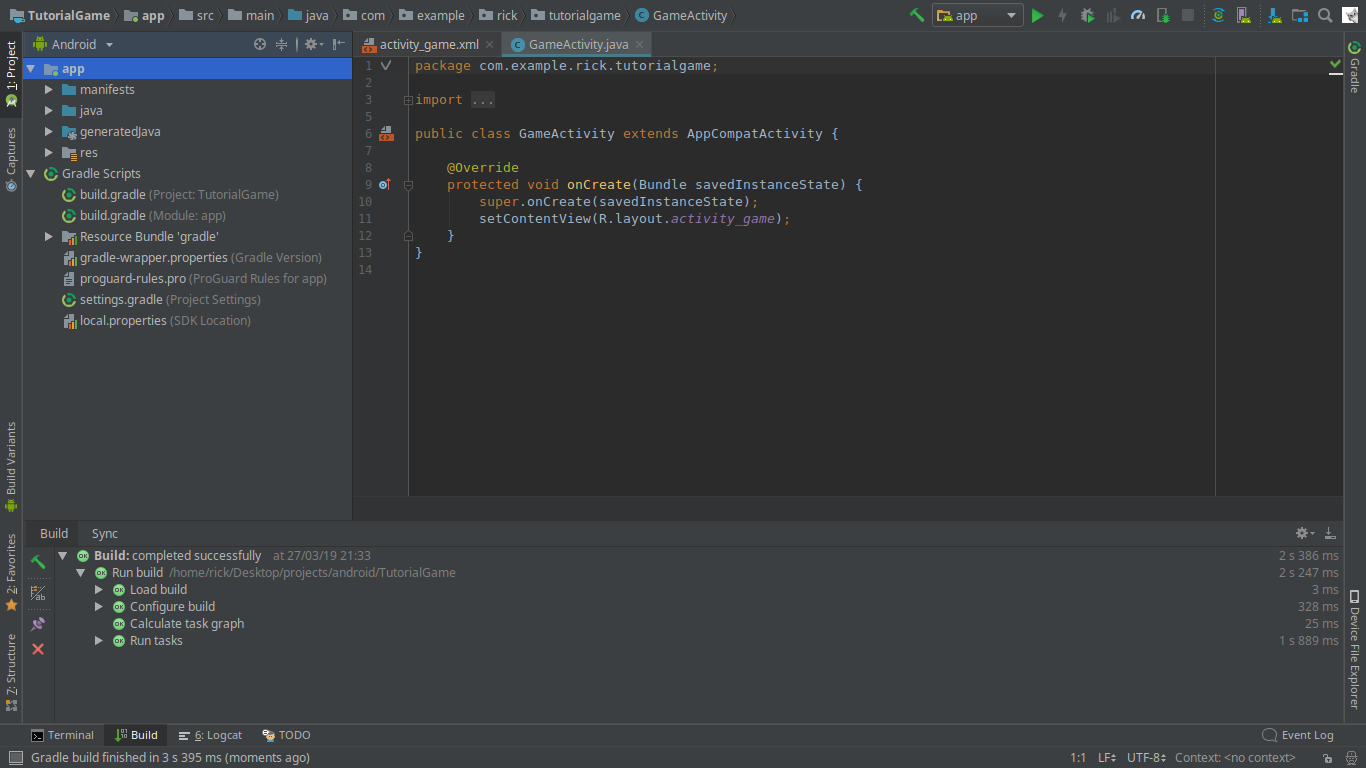
Create a new Project as you usually do and have the First Acitivity as an Empty Activity
You should end up with something like this
Now, let's add The Dependencies as described in the installation section
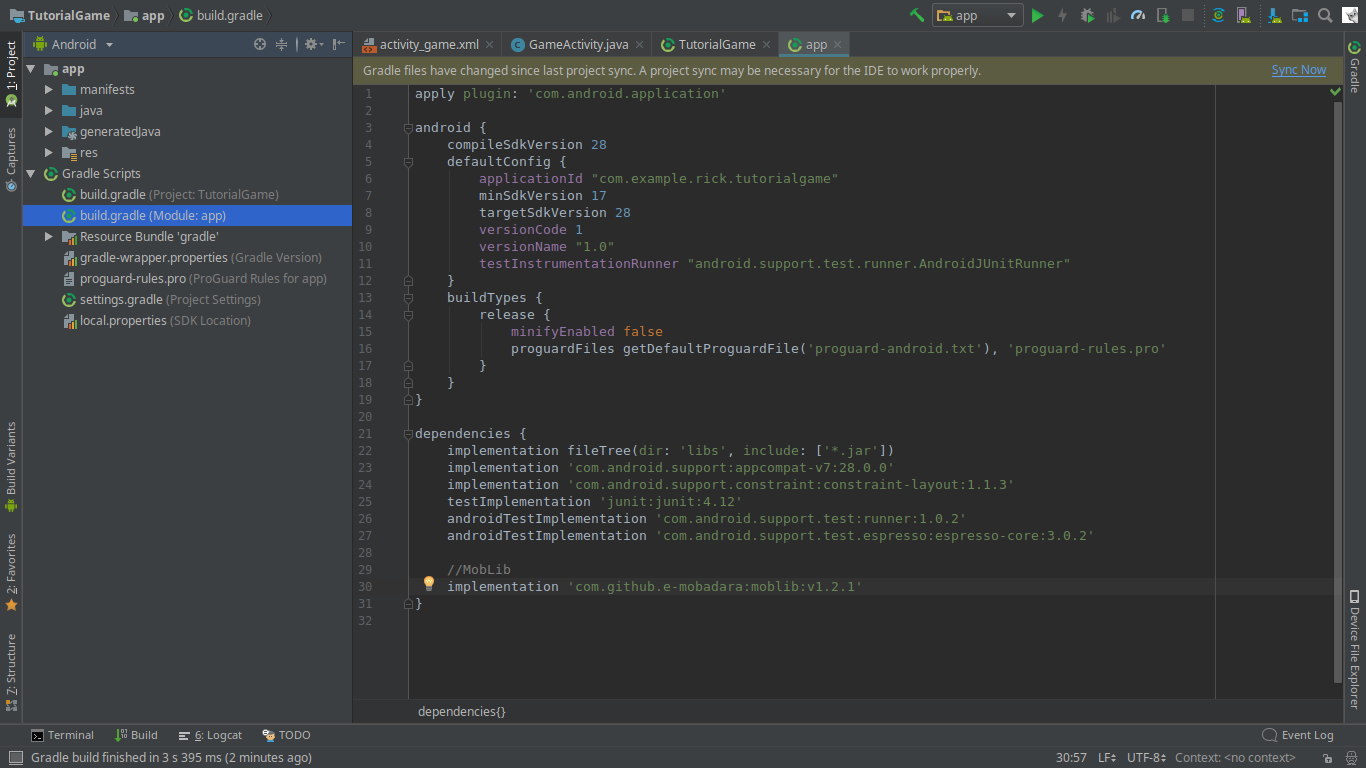
Now, Hit sync now and the library should be installed in this project
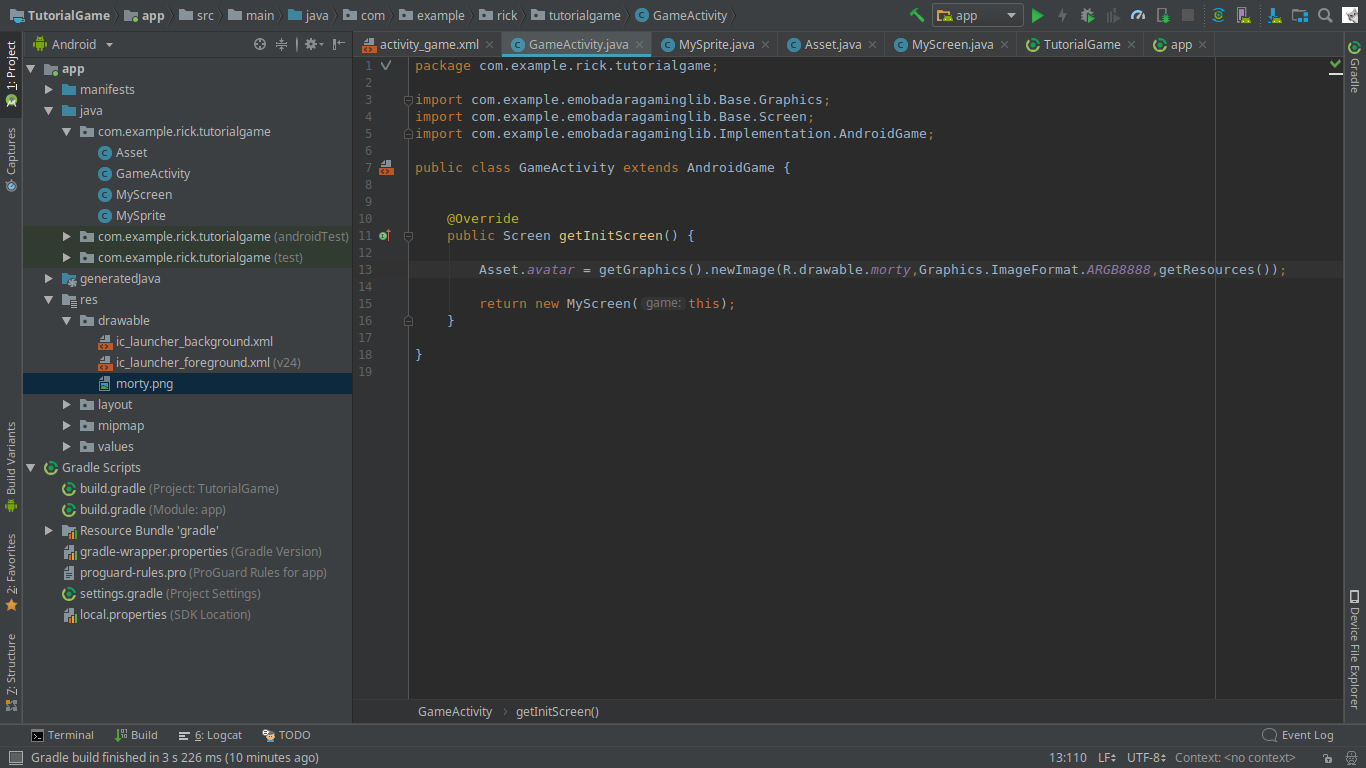
Adding the AndroidGame
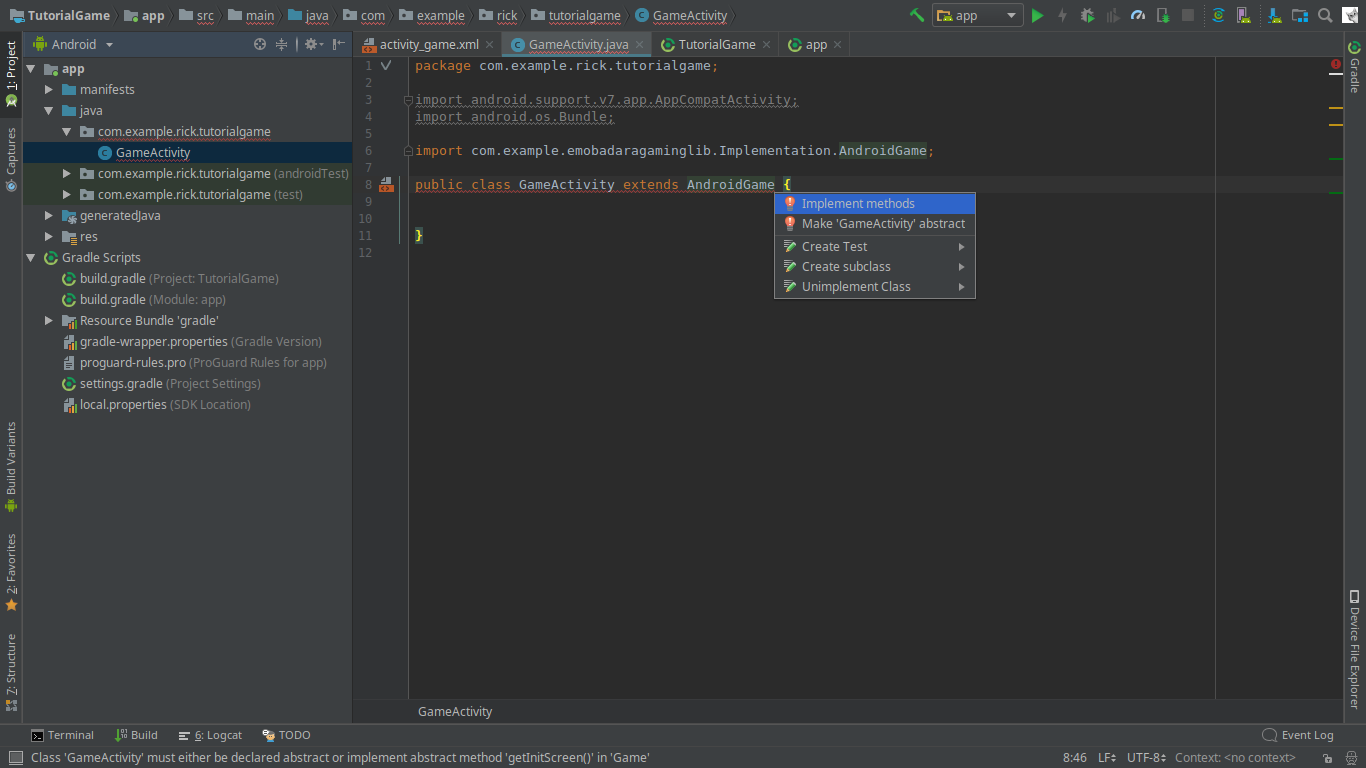
Let's change the code of the GameActivity so that it will extend from AndroidGame
move the cursor to the end and Press alt+enter to implement the required methods, Make sure you are choosing getInitScreen
If everything went okay you should end up with something like this
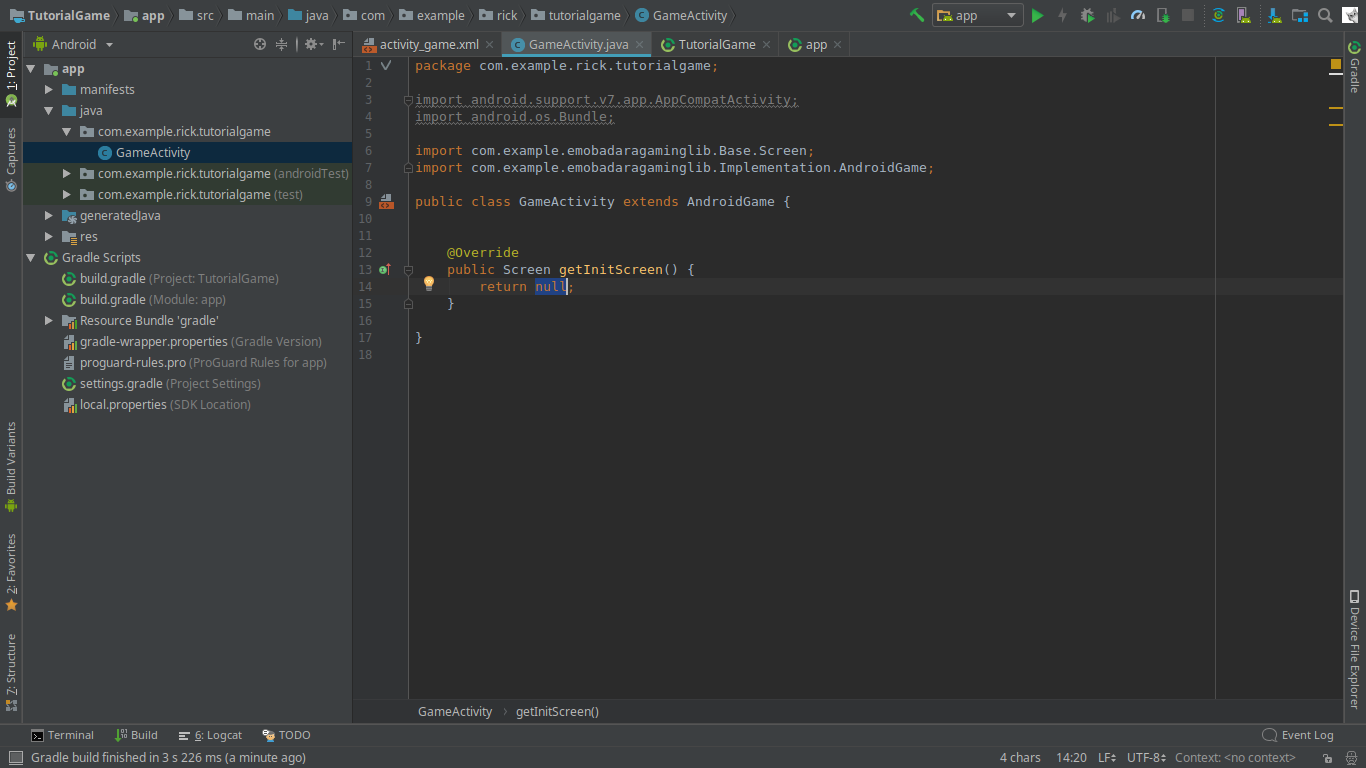
The Screen That the AndroidGame uses Should not be null so let's create a Screen class
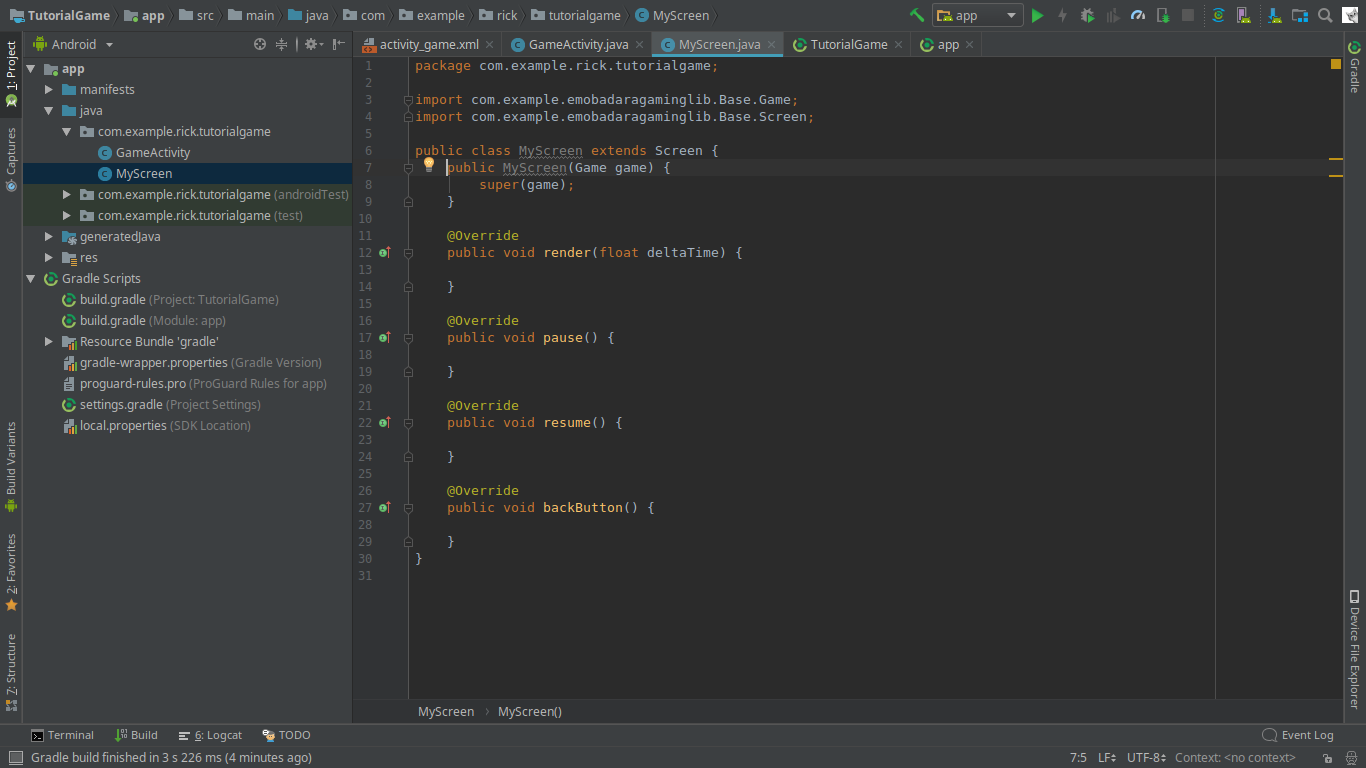
Creating Your Screen
Create a new Class, Call it what ever you want, and make it extends Screen. Implement the required functions and consctructor
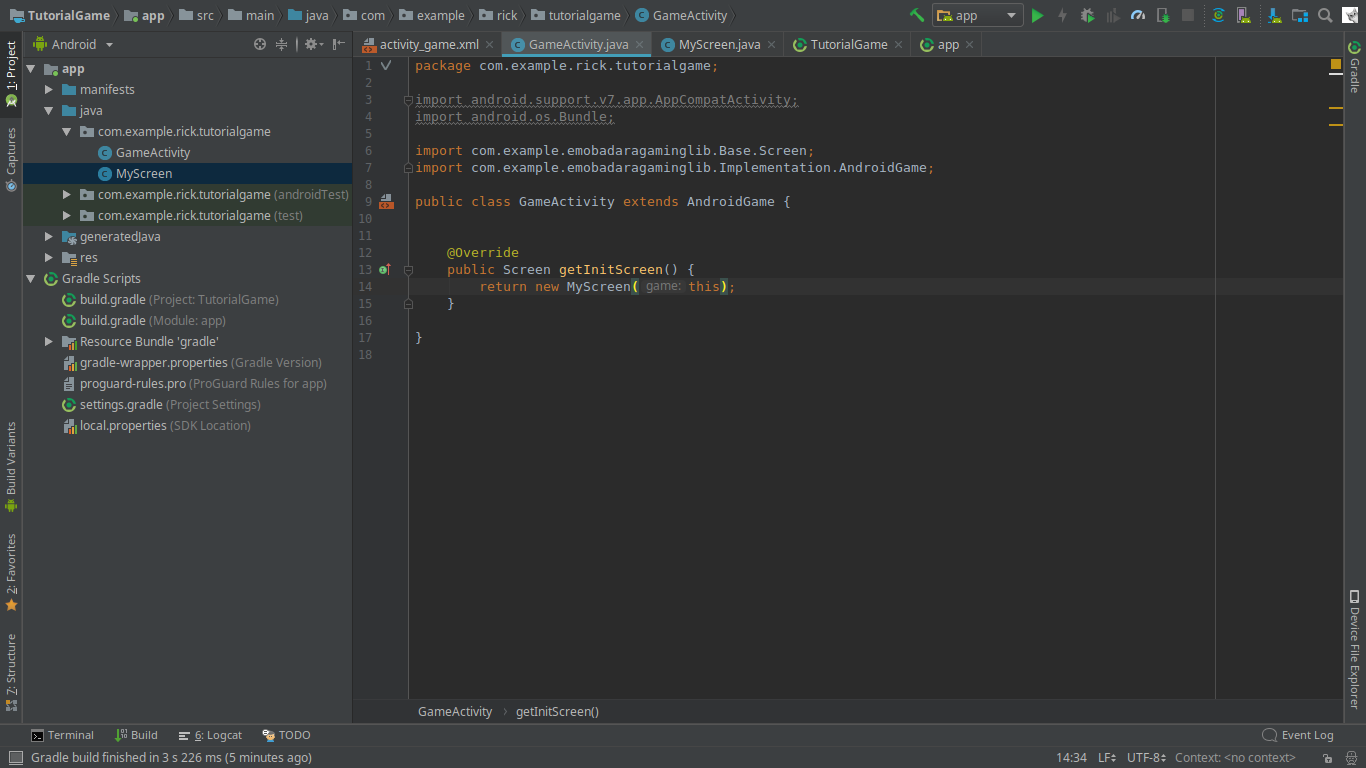
Now Go back to your AndroidGame Activity and have the getInitScreen return your new Screen
By now, You have a Game that will have a black screen, Let's add a sprite to it
Creating the Sprite
Create a new Class and have it extend from Sprite, implement the consctructor

As you see, For the sprite to be initialized, it has to have an Image. as a good practice we keep these images and assets
as public static variables that can be initialized once and be refered to anytime
Assets
Create a class and put your public static variables that will refere to the ressources your app will be using
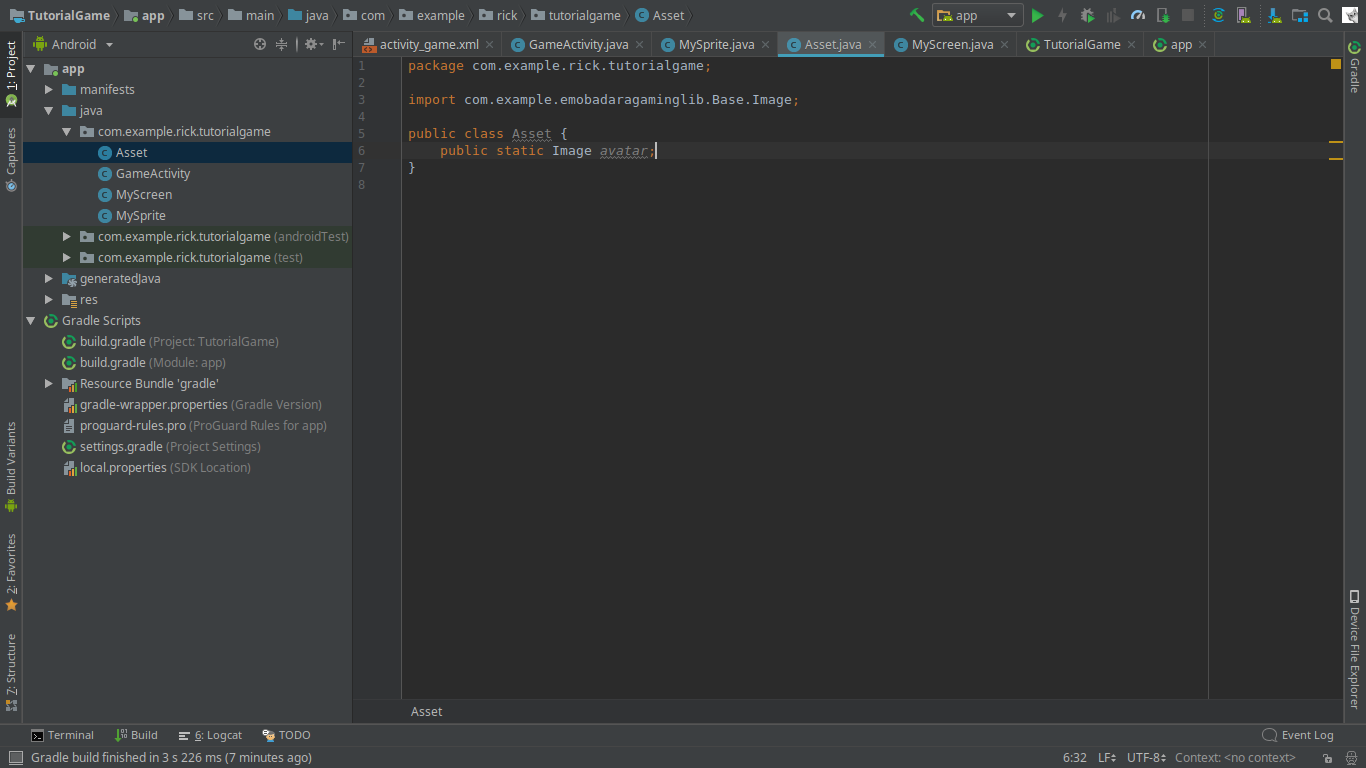
Let's make this Image refer to the image I did put in res/drawable folder
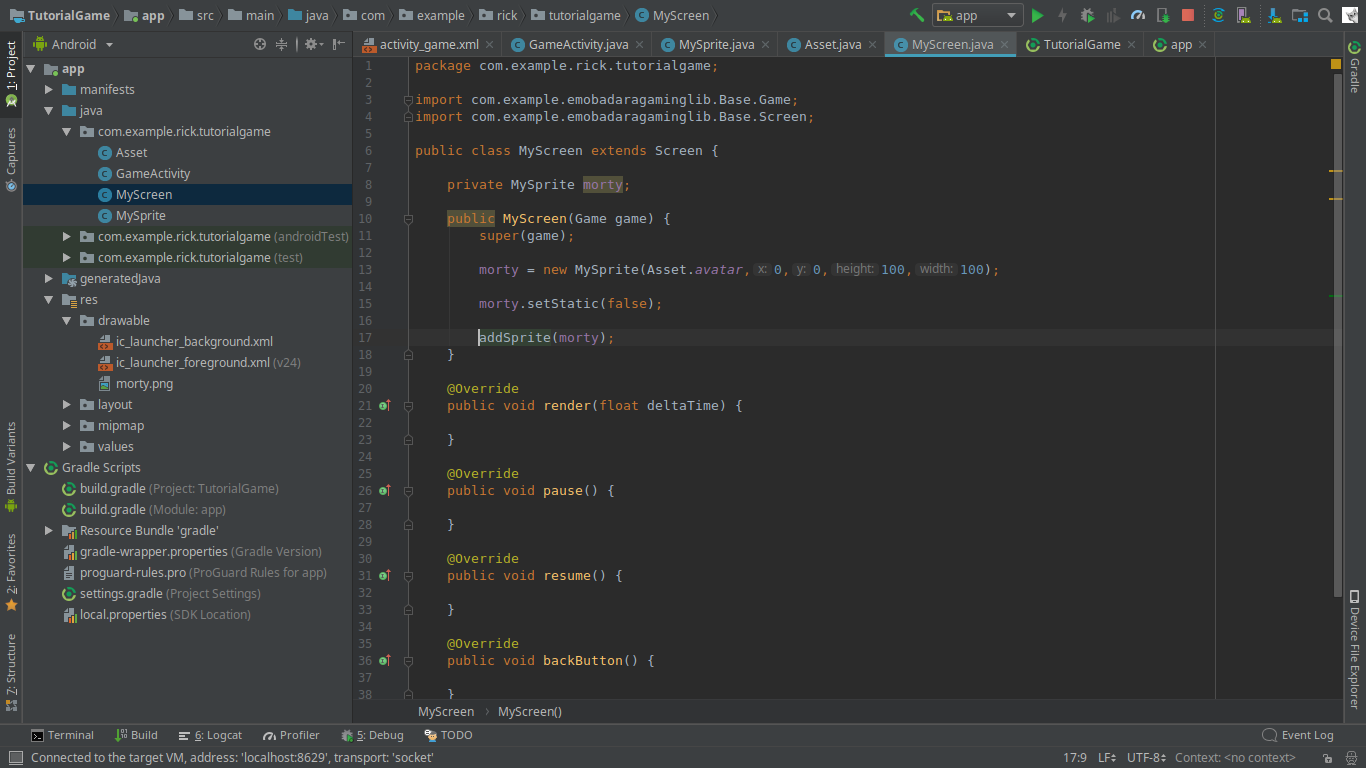
Adding sprites to the screen
Let's Go to our Screen and add the Sprite
1- make a private variable that will hold our sprite
2- initialize the sprite in the consctructor
3- Make the Sprite Draggable by setting it to a non static Sprite, because all Sprites are static by default
4- Then add the sprite the The ArralList of the Screen using addSprite(sprite)
 now Run your game
The Image keeps repeating itself because there is no background, You can stop that by adding
game.getGraphics().drawARGB(256,0,0,0); in your render method.
You dont have to worry about it if you have a background.
Examples
Now That You made this game, You must have the required knowledge to Get inspired and understand the games that we have madeCheck e-mobadara repositories